The process from estimate to installation typically takes 6–10 weeks, depending on factors such as product availability and manufacturer lead times. Here’s a breakdown:
1
Initial estimate
Conducted at your home, usually within 1–3 days of your inquiry.
2
Second measure
A precise measurement follows the estimate and contract, scheduled 1–5 days later based on availability.
3
Manufacturing lead time
Custom windows and doors take 6–8 weeks to produce, though this can extend to 8–10 weeks during peak demand or for specialized orders.
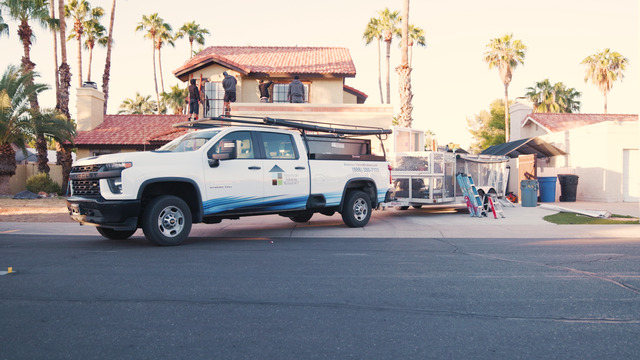
4
Installation
Most installations involving less than a dozen windows and a couple doors are completed in one day per project with a crew of four, but this is ultimately dependent on the number of windows and doors to be installed. Installation type (ie. retrofit v. nail-finish) also impacts timing, as do site conditions.
5
Flexible
AVW offers flexible installation scheduling to accommodate your availability. We work with you to find convenient dates, including options for partial-day installations to minimize disruption. You’ll receive a confirmed installation date once the products are ready, with advance notice to ensure it fits your schedule.
The American Vision Windows Estimate Process
During the estimate, an AVW project manager will visit your home to assess your windows and doors, identifying any issues such as drafts, leaks, or operational problems. They will provide a detailed explanation of the findings and recommend solutions tailored to your needs. This includes discussing all of the various national window manufacturers we represent, window and door styles, and installation methods, such as retrofitting or full-frame replacements, to address the specific issues. You’ll learn about material options (e.g., vinyl, aluminum, fiberglass, or wood), energy efficiency ratings, and other customization possibilities.
At this stage, you can choose from a range of service options, including:
Window or door replacement: Selecting specific units to replace based on the assessment.
Retrofit vs. full-frame installation: Retrofitting keeps the existing frame, while full-frame involves a complete replacement.
Customization options: Choosing colors, finishes, hardware, and glass types and packages
After the estimate, you’ll walk away with a clear understanding of the recommended solutions, estimated costs, and next steps. Visiting the AVW showroom is not required to select windows or doors, as the project manager will provide detailed product information and samples to help you make decisions on-site or remotely. However, visiting the showroom is an option if you prefer to see some select products in person.
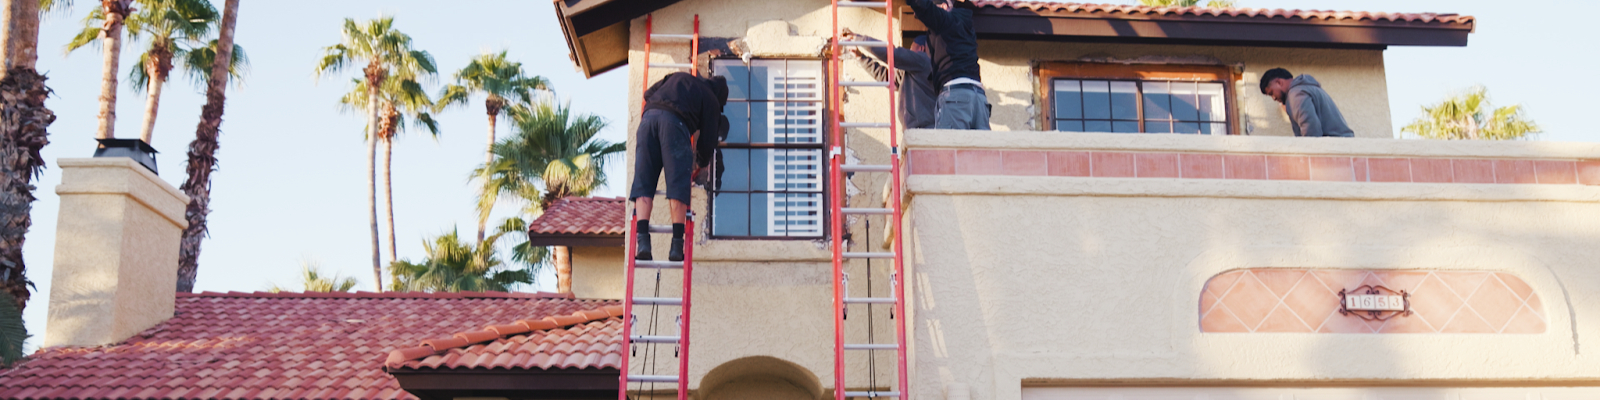
Installation Process
Retro Fit Installation Method
The Retro Fit installation is AVW’s most popular and least invasive method, preserving the existing window or door frame to maintain the home’s moisture barrier while upgrading the unit. Below are the four key steps involved:
1. Station Preparation
We begin by preparing the workspace to ensure a clean and safe process:
Clearance: A minimum of 3 feet of interior space around the window or door is required for our team to work safely and efficiently.
Floor protection: Durable coverings are placed under the work area to catch debris, which is folded up and removed to minimize cleanup time.
Furniture protection: Nearby furniture and valuables are covered with plastic sheeting to prevent dust or damage.
Pet safety: Pets should be kept away from the installation area due to hazardous materials like glass and silicone. We recommend securing pets in a separate room or area for their safety, and the safety of our installers.
Homeowner presence: While not mandatory, we strongly recommend homeowners be present during installation. This allows us to demonstrate how to operate the new windows or doors, explain our process, and ensure your satisfaction. If you cannot take time off work, we can coordinate with a trusted representative of yours, or provide a detailed post-installation walkthrough at a later time.
2. Demolition
The demolition phase is straightforward and minimally invasive:
The existing window sash and meeting rail are removed, leaving the original frame intact to preserve the home’s moisture barrier, per AAMA guidelines.
This approach avoids disrupting the exterior stucco or interior walls, reducing mess and maintaining structural integrity.
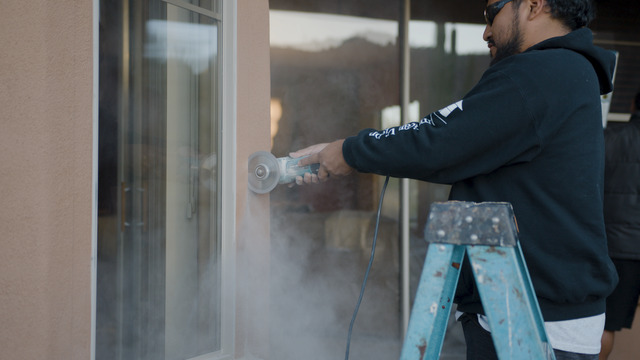
3. Opening Preparation
Preparing the opening ensures a secure and efficient installation:
Leveling: The opening is checked to ensure it is level, plumb, and flush across all four planes, critical for a proper fit.
Trimming excess material: For older aluminum or builder-grade vinyl frames, excess material that obstructs the view or compromises fit is carefully trimmed or ground down, preserving the sealant barrier.
Applying back-bead sealant: A stream of sealant is applied around the opening to ensure a smooth, secure and air-tight installation.
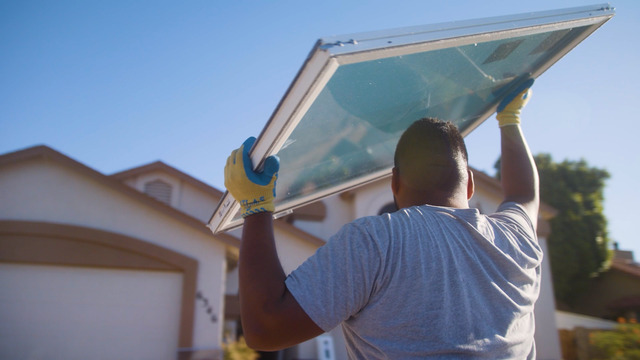
4. Installation and Finishing
The final step involves setting and securing the new window or door:
The new unit is carefully placed into the prepared opening and secured to the home’s framing with strategic screws. Placement varies by opening to ensure a tight, durable fit without compromising the structure.
A beauty bead of sealant is applied between the window fin and the exterior stucco, creating a polished, seamless look that blends with your home.
Furniture protection: Nearby furniture and valuables are covered with plastic sheeting to prevent dust or damage.
Interior finishing depends on the frame depth and type but ensures the existing frame is fully concealed for a clean, professional appearance.
Additional Information
Homeowner presence: While we prefer you to be home, it’s not strictly necessary. If you’re unavailable, we can coordinate with you to ensure the process runs smoothly and provide a follow-up to review the installation.
Pets: For safety, keep pets in a separate, secure area away from the installation site. If you have concerns about pet management, let us know in advance, and we can discuss options to minimize stress.
Post-installation cleanup: AVW handles all debris removal and ensures your home is left clean and tidy.
Warranty and follow-up: You’ll receive detailed warranty information for your new windows or doors, and our team is available for any post-installation questions or support.
This streamlined process ensures high-quality results with minimal disruption, tailored to your home’s unique needs.